Preserving the Beauty of Marble Floors: Tips and Tricks

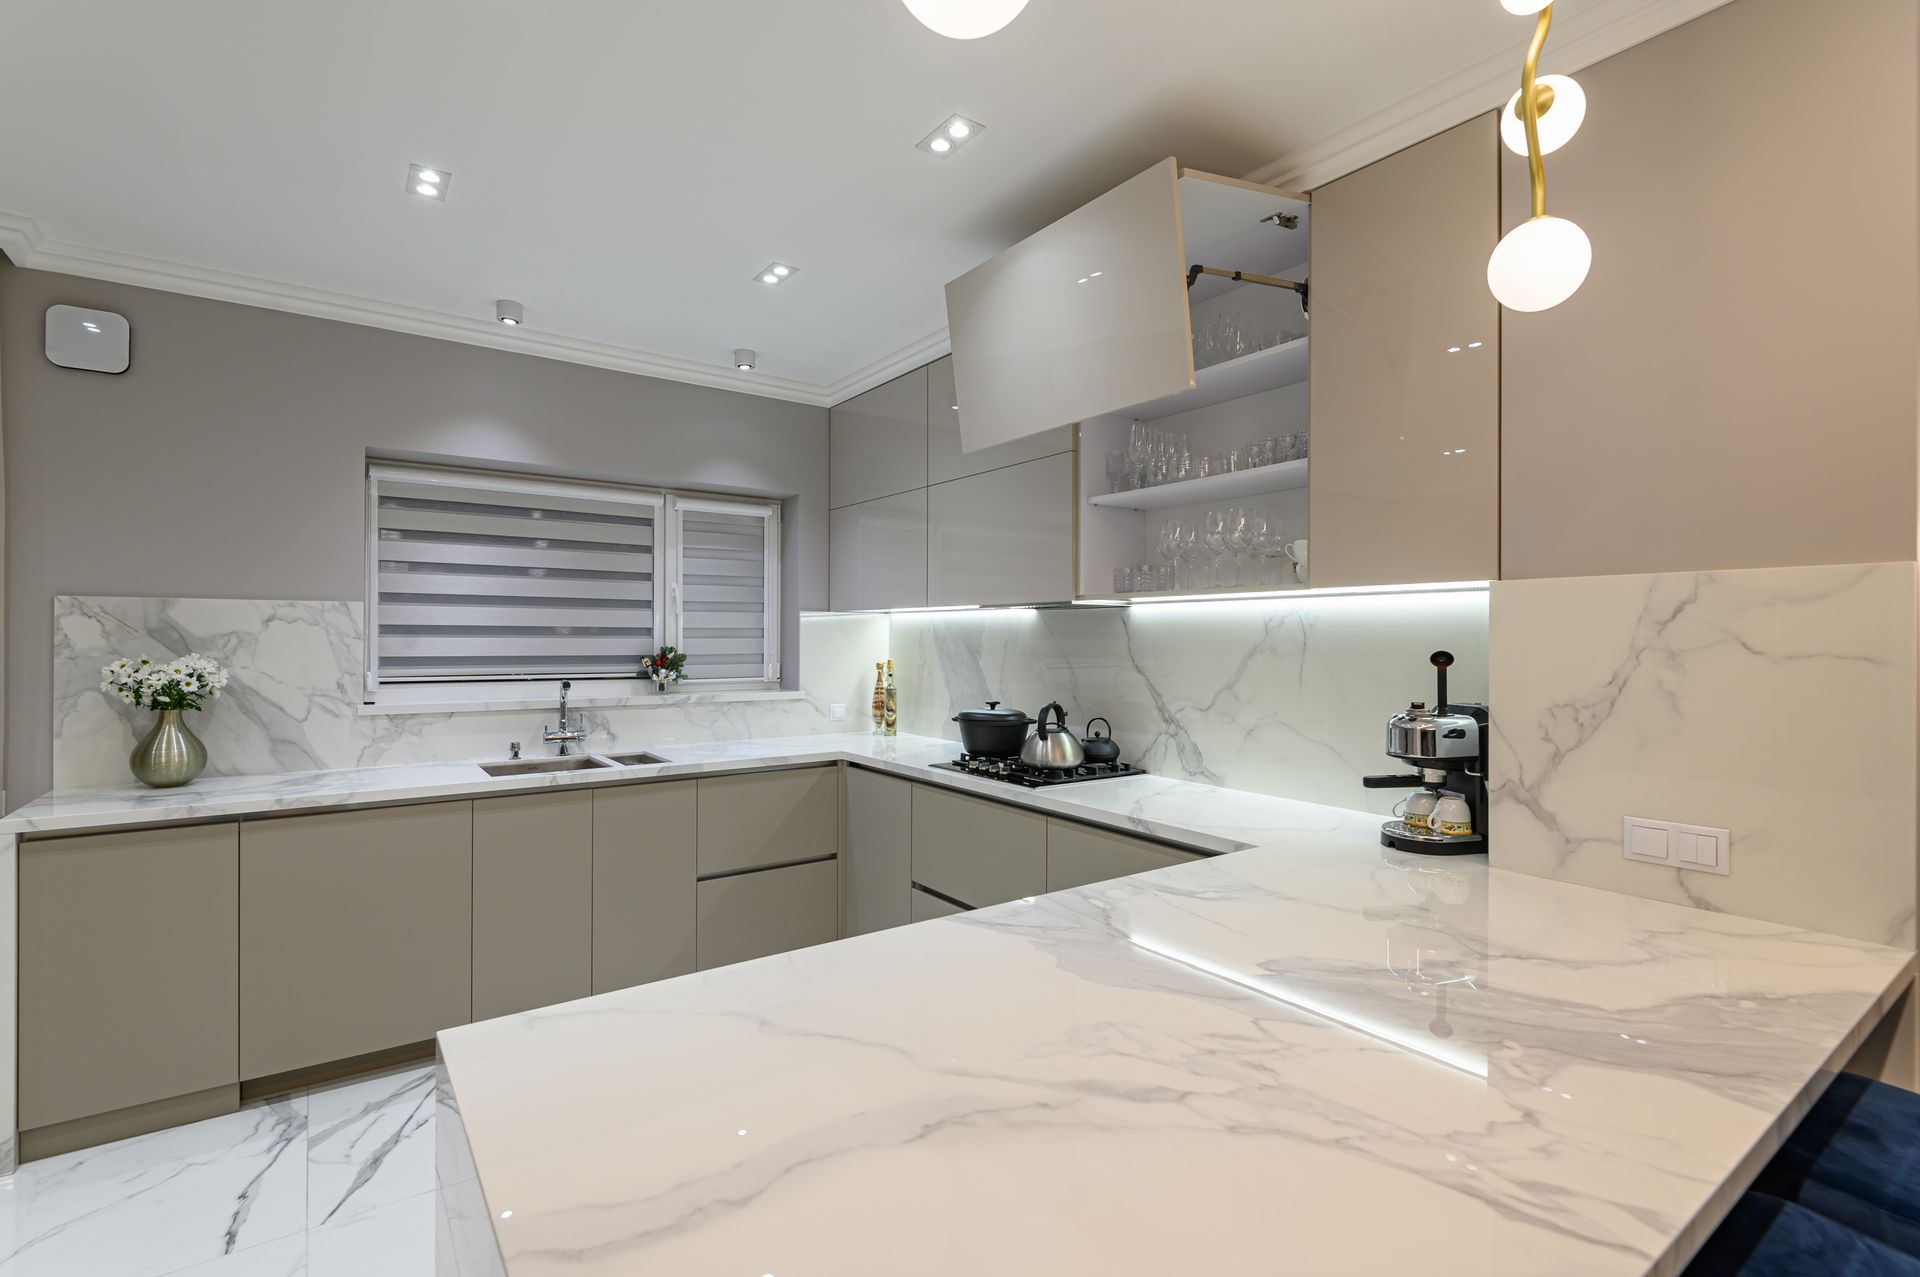
Marble floors are a timeless choice, renowned for their elegance, sophistication, and natural beauty. However, maintaining their pristine condition requires specific care and attention. To help you preserve the splendor of your marble floors, we've compiled a comprehensive guide full of tips and tricks for effective care and maintenance.


1. Regular Cleaning

Daily Cleaning:

Dust and dirt can act as abrasives on marble floors, leading to scratches and dulling over time. To prevent this, sweep or dry mop your marble floors daily using a soft, non-abrasive mop. Avoid using a vacuum cleaner with a beater bar attachment, as it can scratch the surface.


Weekly Cleaning:

For a deeper clean, use a pH-neutral, non-abrasive cleaner specifically formulated for marble. Avoid acidic or alkaline cleaners, as they can etch the surface. Mix the cleaner with water according to the manufacturer's instructions and use a damp mop to clean the floors. Ensure the mop is only slightly damp, as excess water can penetrate the stone and cause damage.


2. Immediate Spill Management

Marble is susceptible to staining, especially from acidic substances like wine, coffee, and citrus juices. Promptly wipe up any spills using a soft cloth or paper towel. Blot the spill rather than wipe it, as wiping can spread the liquid and potentially stain a larger area.


3. Using Mats and Rugs

Place doormats at entrances to reduce the amount of dirt and grit tracked onto marble floors. Area rugs and runners can also protect high-traffic areas from wear and tear. Ensure the mats and rugs have a non-slip backing to prevent them from moving and scratching the floor.


4. Furniture Protection

Heavy furniture can cause dents and scratches on marble floors. Use felt pads or coasters under the legs of furniture to distribute the weight and prevent damage. When moving furniture, lift it rather than dragging it across the floor.


5. Regular Sealing

Marble is porous and can absorb liquids, leading to stains and etching. Sealing your marble floors creates a protective barrier that reduces absorbency and helps prevent damage. Depending on the type of marble and the amount of foot traffic, it is recommended to seal marble floors every 6-12 months. Always use a high-quality, penetrating sealer designed for natural stone.


6. Polishing

Polishing marble floors enhances their shine and adds an extra layer of protection against stains and scratches. Professional polishing is recommended every 1-2 years, depending on the level of wear and tear. For periodic maintenance, you can gently buff the surface with a marble polishing powder and a soft cloth.


7. Avoiding Common Mistakes

Using the Wrong Cleaners:

Avoid using vinegar, lemon juice, or other acidic cleaners on marble floors, as they can cause etching and dull the surface. Similarly, avoid abrasive scrubbers and harsh chemicals that can damage the stone.


Ignoring Small Issues:

Address minor scratches, chips, or dull spots as soon as they appear. Minor issues can quickly escalate if not properly managed. Professional restoration services can repair and polish damaged areas, restoring your marble floor's original beauty.


8. Professional Maintenance

While regular at-home maintenance is crucial, professional care can significantly extend the life and beauty of your marble floors. Professional stone care specialists have the expertise and equipment to deep clean, polish, and seal marble surfaces, ensuring they remain in top condition.


Conclusion

Marble floors are a stunning investment that can last a lifetime with the proper care and maintenance. By following these tips and tricks, you can preserve the elegance and beauty of your marble floors, ensuring they remain timeless in your home. Regular cleaning, immediate spill management, protective measures, and periodic professional care are crucial to keeping your marble floors looking their best.

January 20, 2025
Natural stone surfaces, such as marble, granite, limestone, or travertine, bring elegance and sophistication to any space. However, due to wear, scratches, and exposure to moisture and dirt, these surfaces can lose their shine over time. Polishing natural stone is essential for restoring its glossy finish and enhancing its durability. Why Polishing Natural Stone is Important Polishing is not just about aesthetics—it also serves several practical benefits: Restores Shine – Natural stone can lose its luster over time due to foot traffic, spills, and regular use. Polishing rejuvenates the surface. Protects Against Stains – A polished surface makes it more resistant to stains and moisture absorption. Smooths Imperfections – Proper polishing techniques can diminish or remove Minor scratches and etching. Extends Longevity – Regular polishing helps maintain the integrity of the stone, ensuring it lasts for decades. Step-by-Step Guide to Polishing Natural Stone Like a Pro 1. Identify Your Stone Type Different types of natural stone require different polishing techniques: Marble & Limestone – Soft, porous stones require gentle polishing to avoid scratches. Granite & Quartzite – Hard, dense stones that require diamond polishing pads for effective results. Travertine – Porous and textured, requiring extra sealing after polishing. Slate – Naturally rough, often enhanced with a stone enhancer rather than polished.  Understanding your stone type ensures you use the right products and techniques. 2. Clean the Surface Thoroughly Before polishing, the stone surface must be free of dirt, debris, and stains. How to Clean Natural Stone Before Polishing: Remove loose dirt – Sweep or dust the surface. Use a pH-neutral cleaner – Mix warm water with a mild stone cleaner or a few drops of dish soap. Wipe with a soft cloth or mop – Avoid harsh brushes or scrubbing pads. Dry the surface completely – Let it air dry or use a microfiber cloth to remove excess moisture. Pro Tip: Avoid acidic or abrasive cleaners, which can etch the surface and make polishing more difficult. 3. Select the Right Polishing Method Two main methods for polishing natural stone are DIY hand polishing and machine polishing . DIY Hand Polishing (For Small Areas) Hand polishing is a practical option if you have a small surface, such as a countertop or tabletop. What You Need: A stone polishing powder or compound (specific to your stone type) A soft cloth or buffing pad Water How to Hand Polish: Apply polishing powder – Sprinkle a small amount on the surface. Dampen a soft cloth – Use water to create a paste-like consistency. Buff in circular motions – Gently rub the surface until the shine starts to appear. Wipe clean – Use a damp cloth to remove any excess residue. Pro Tip: Use a high-quality stone polish spray after buffing for extra shine. Machine Polishing (For Floors and Large Areas) A machine polisher is the best option for larger surfaces, such as stone floors or walls. What You Need: A variable-speed stone polisher (also known as a buffer) Diamond polishing pads (grit levels ranging from coarse to fine) Water spray bottle A sealant (optional, but recommended) How to Machine Polish: Attach a low-grit diamond polishing pad (e.g., 50-100 grit) to the polisher. Lightly wet the surface – Use a spray bottle to prevent overheating. Begin polishing in sections – Move the machine in circular motions over the stone. Gradually switch to finer grits – Increase the grit level (200, 400, 800, 1500, and 3000) for a smoother finish. Wipe down the surface – Remove dust and excess polish residue with a clean cloth. Pro Tip: Always keep the surface slightly damp while polishing to avoid friction burns on the stone. 4. Seal the Stone After Polishing After polishing, sealing your natural stone is highly recommended, especially for porous stones like marble, limestone, and travertine. How to Apply a Sealer: Choose a high-quality stone sealer – Look for a penetrating sealer suitable for your stone type. Apply with a soft cloth or sponge – Work in even layers. Allow time to absorb – Let the sealer sit for 10-15 minutes. Buff away excess – Use a clean, dry cloth to remove any leftover sealer. Pro Tip: Sealing protects against stains, water damage, and daily wear. Depending on usage, it should be reapplied every 6-12 months. 5. Maintain the Shine with Regular Care Once your natural stone is polished, follow these maintenance tips to keep it looking flawless: ✔ Use pH-neutral stone cleaners – Avoid acidic substances like vinegar, lemon juice, or harsh chemicals. ✔ Wipe up spills immediately – Prevent stains from setting. ✔ Use coasters, mats, and rugs – Protect surfaces from scratches and heat. ✔ Re-polish as needed – Consider light re-polishing for high-traffic areas every 6-12 months. Common Mistakes to Avoid 🚫 Using acidic cleaners – These can etch and dull the surface. 🚫 Skipping sealing – Unsealed stone is more prone to stains and damage. 🚫 Using rough pads or steel wool – These can scratch and ruin the finish. 🚫 Applying too much polish – Overuse of polish can create residue buildup. Final Thoughts Polishing natural stone is an essential step in maintaining its beauty and durability. Whether refreshing a marble countertop, restoring a granite floor, or enhancing the look of travertine tiles, the right techniques and tools will ensure a flawless finish. With proper cleaning, polishing, and sealing, your natural stone surfaces will continue to shine for years. If your stone requires extensive restoration or you are unsure about the process, consider hiring Marble Stone Polish for expert results. A well-maintained natural stone surface is a valuable investment and a timeless feature in any home.
November 15, 2024
Daily Cleaning Routine: For most natural stones, wiping down surfaces daily with a soft cloth and a pH-neutral cleaner or water with a few drops of mild soap is sufficient. Avoid excessive water on surfaces, as standing water can penetrate stone pores and lead to discoloration. Weekly or Deep Cleaning Routine: Use a stone-specific cleaner that matches your stone type for weekly or deeper cleaning. Avoid all-purpose household cleaners, which may contain acids or abrasives that can damage the stone. Handling Spills and Stains: Immediate Action: Blot any spills immediately with a soft cloth. Do not rub, as this can spread the stain. For Stubborn Stains: If you encounter a tough stain, like oil or wine, create a poultice with baking soda and water. Apply it to the stain, cover it with plastic wrap, and leave it overnight. Rinse and wipe clean the next day. Avoiding Common Mistakes: Never use acidic cleaners, such as vinegar, lemon, or bleach. Avoid using abrasive scrubbers or brushes that could scratch the stone. Do not use wax or polish unless specifically recommended for your stone type, as this can create buildup and damage.
Share by: