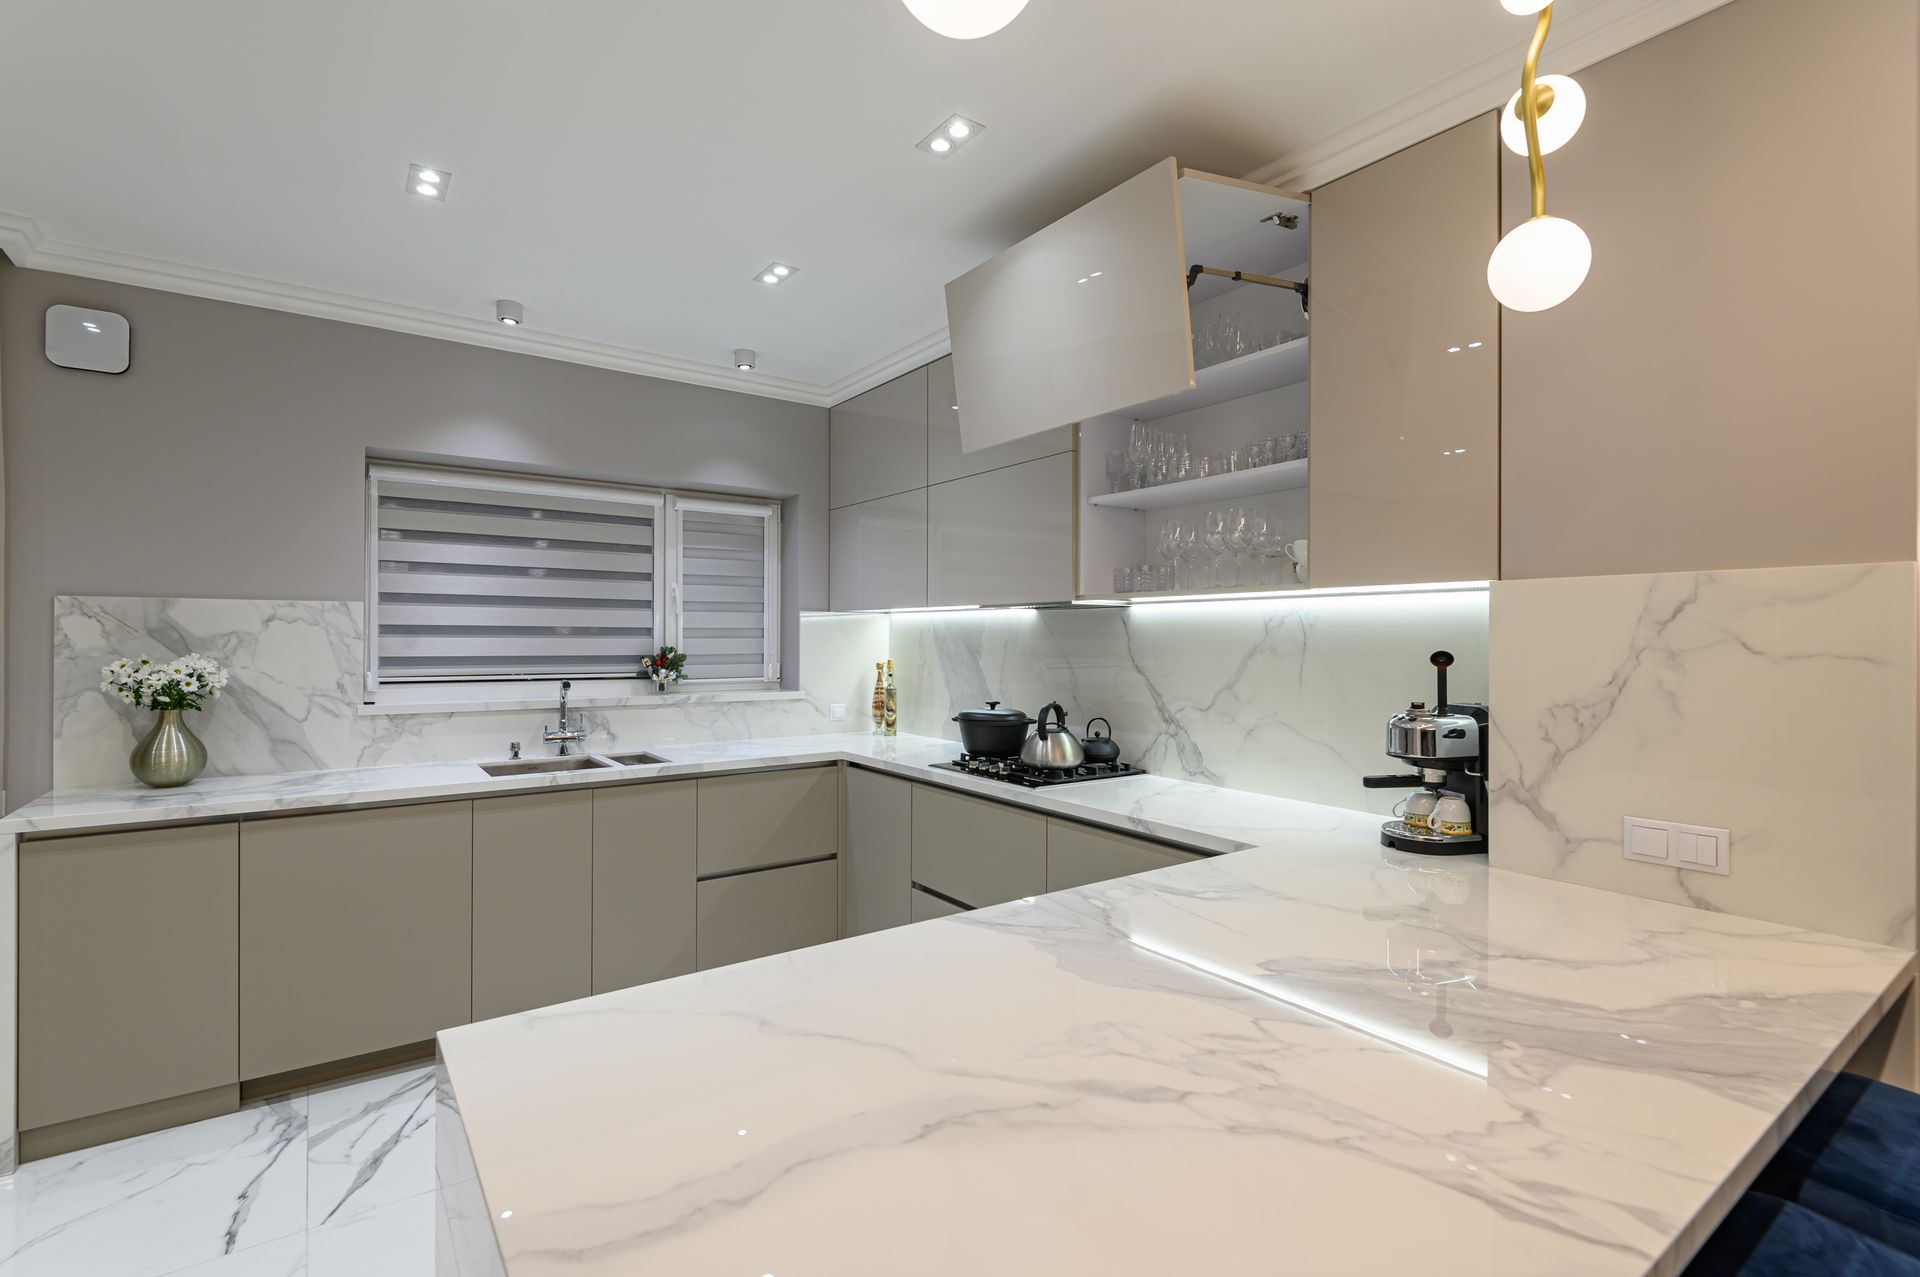
Natural stone surfaces, such as marble, granite, limestone, and travertine, add elegance and beauty to homes and commercial spaces. However, each type of natural stone has unique properties, and proper care is essential to maintain its appearance and durability. This guide covers the different types of natural stone and offers detailed cleaning and maintenance tips to help you keep your surfaces looking beautiful for years.
1. Types of Natural Stone and Their Properties
Marble
- Appearance: Known for its classic elegance, marble often features veining patterns and comes in shades of white, gray, and beige.
- Durability: While durable, marble is a softer stone and can be prone to scratching, etching, and staining if not properly cared for.
- Best Uses: Ideal for bathroom surfaces, low-traffic floors, and decorative elements.
Granite
- Appearance: Granite offers a range of colors and patterns, from subtle neutrals to bold colors, and is often speckled or mottled.
- Durability: Extremely hard and durable, granite resists scratching, heat, and staining, making it ideal for high-use areas.
- Best Uses: Perfect for kitchen countertops, high-traffic floors, and outdoor applications.
Limestone
- Appearance: Limestone has a softer, earthy look with warm, neutral tones and a smooth, matte finish.
- Durability: Softer than granite, limestone is more porous and can stain if not sealed, but it holds up well with proper care.
- Best Uses: Commonly used for bathroom floors, wall cladding, and fireplace surrounds.
Travertine
- Appearance: This stone has a distinctive textured appearance with natural pitting and comes in earthy shades like beige, tan, and brown.
- Durability: Similar to limestone, travertine is porous and requires sealing, but with regular care, it can last a lifetime.
- Best Uses: Often used for bathroom floors, shower walls, and outdoor patios.
Slate
- Appearance: Slate is dark and rustic, with a natural cleft texture that can be smooth or rough.
- Durability: Slate is tough, stain-resistant, and non-slip, making it great for high-traffic areas.
- Best Uses: Popular for entryways, kitchens, outdoor patios, and wall cladding.
2. General Cleaning Tips for All Natural Stones
Daily Cleaning
- Use a soft, dry cloth to wipe down surfaces daily, removing dust and preventing dirt buildup.
- For floors, sweep or vacuum regularly with a soft-bristle attachment to avoid scratching.
Weekly Cleaning
- Clean surfaces with a pH-neutral, non-abrasive stone cleaner to remove any grime or residue.
- Avoid acidic cleaners like vinegar or lemon juice, which can damage stone surfaces, especially marble and limestone.
Dealing with Spills
- Blot spills immediately with a soft cloth to prevent stains. Avoid wiping, as this can spread the liquid.
- For oily spills, sprinkle baking soda over the area to absorb the oil, then wipe clean after a few minutes.
3. Maintenance and Sealing for Different Types of Stone
Marble Maintenance
- Sealing: Marble is a porous stone that should be sealed every 6-12 months, depending on usage.
- Cleaning: Use a pH-neutral cleaner specifically designed for marble. Avoid acidic cleaners that can etch and dull the surface.
- Polishing: To keep marble looking polished and shiny, consider using a marble polishing powder a few times a year.
Granite Maintenance
- Sealing: Although granite is less porous, sealing is still recommended annually for high-traffic areas.
- Cleaning: Clean granite with a mild detergent or granite-specific cleaner and a soft cloth.
- Polishing: Granite doesn’t require polishing as often but can benefit from an occasional granite polish to enhance its shine.
Limestone Maintenance
- Sealing: Limestone is quite porous and should be sealed at least once or twice a year to protect against moisture and stains.
- Cleaning: Use a soft cloth and a stone-safe cleaner. Avoid harsh chemicals that can damage limestone’s surface.
- Avoid Acidic Substances: Since limestone is sensitive to acids, protect it from acidic substances like citrus juice, wine, or vinegar.
Travertine Maintenance
- Sealing: Travertine requires regular sealing every 6-12 months, especially for high-use areas like bathrooms.
- Cleaning: Use mild, pH-neutral cleaners and a soft cloth. Avoid abrasives that can wear down the stone’s natural pits and textures.
- Polishing: Polishing can help reduce visible wear, but because of travertine’s porous nature, keep polishing products light.
Slate Maintenance
- Sealing: Seal slate every 1-2 years, especially in moist areas, to enhance its natural colors and protect against stains.
- Cleaning: A damp cloth or mop with a pH-neutral cleaner works best. Avoid wax-based cleaners that can build up and dull the finish.
- Polishing: Avoid polishing slate, as it has a naturally matte finish. However, you can use a penetrating enhancer to highlight its colors.
4. Stain Removal Guide for Natural Stone
Removing Oil Stains
- Blot the excess oil with a soft cloth.
- Apply a poultice made of baking soda and water to the stained area.
- Cover it with plastic wrap and let it sit for 24 hours.
- Remove the poultice and rinse with water.
Removing Organic Stains (Wine, Coffee, Food)
- Use a soft cloth to blot the stain.
- Apply a cloth soaked in hydrogen peroxide to the stain.
- Let it sit for a few hours, then rinse with water.
Removing Rust Stains
- Use a rust remover specifically formulated for natural stone for stubborn rust stains.
- Follow the manufacturer’s instructions carefully, as some rust removers can be harsh.
5. Preventive Measures for Long-Lasting Natural Stone
Use Coasters, Trivets, and Mats
- Place coasters under glasses and trivets under hot cookware to protect stone surfaces from heat and moisture damage.
Avoid Heavy Impact
- Avoid dropping heavy objects on stone surfaces to prevent chipping, especially with softer stones like marble and travertine.
Use Rugs in High-Traffic Areas
- Place area rugs or runners in high-traffic areas, especially in entryways and hallways, to reduce wear and tear on stone floors.
Conclusion
Caring for natural stone is a rewarding endeavor that preserves the beauty and value of your home’s surfaces. With the right cleaning products, regular maintenance, and timely sealing, you can keep your stone surfaces looking stunning for years. By following these guidelines, you can enjoy the elegance and durability that natural stone brings to your home, confident that your investment is well-protected.