What do the different colors in granite mean?

Identifying colors and stripes in your granite at home

Granite is a popular material for countertops, floors, and other surfaces in the home. It is durable and has a wide range of colors and patterns to choose from. But what do the different colors and stripes in granite mean?


The most common colors in granite are white, black, gray, brown and red. Each color has its own meaning and symbolizes different things.  Uncommon granites that are green, red, and light-blue will comprise feldspars, which must have encounter the right conditions to transform into green or pink versions.


WHITE


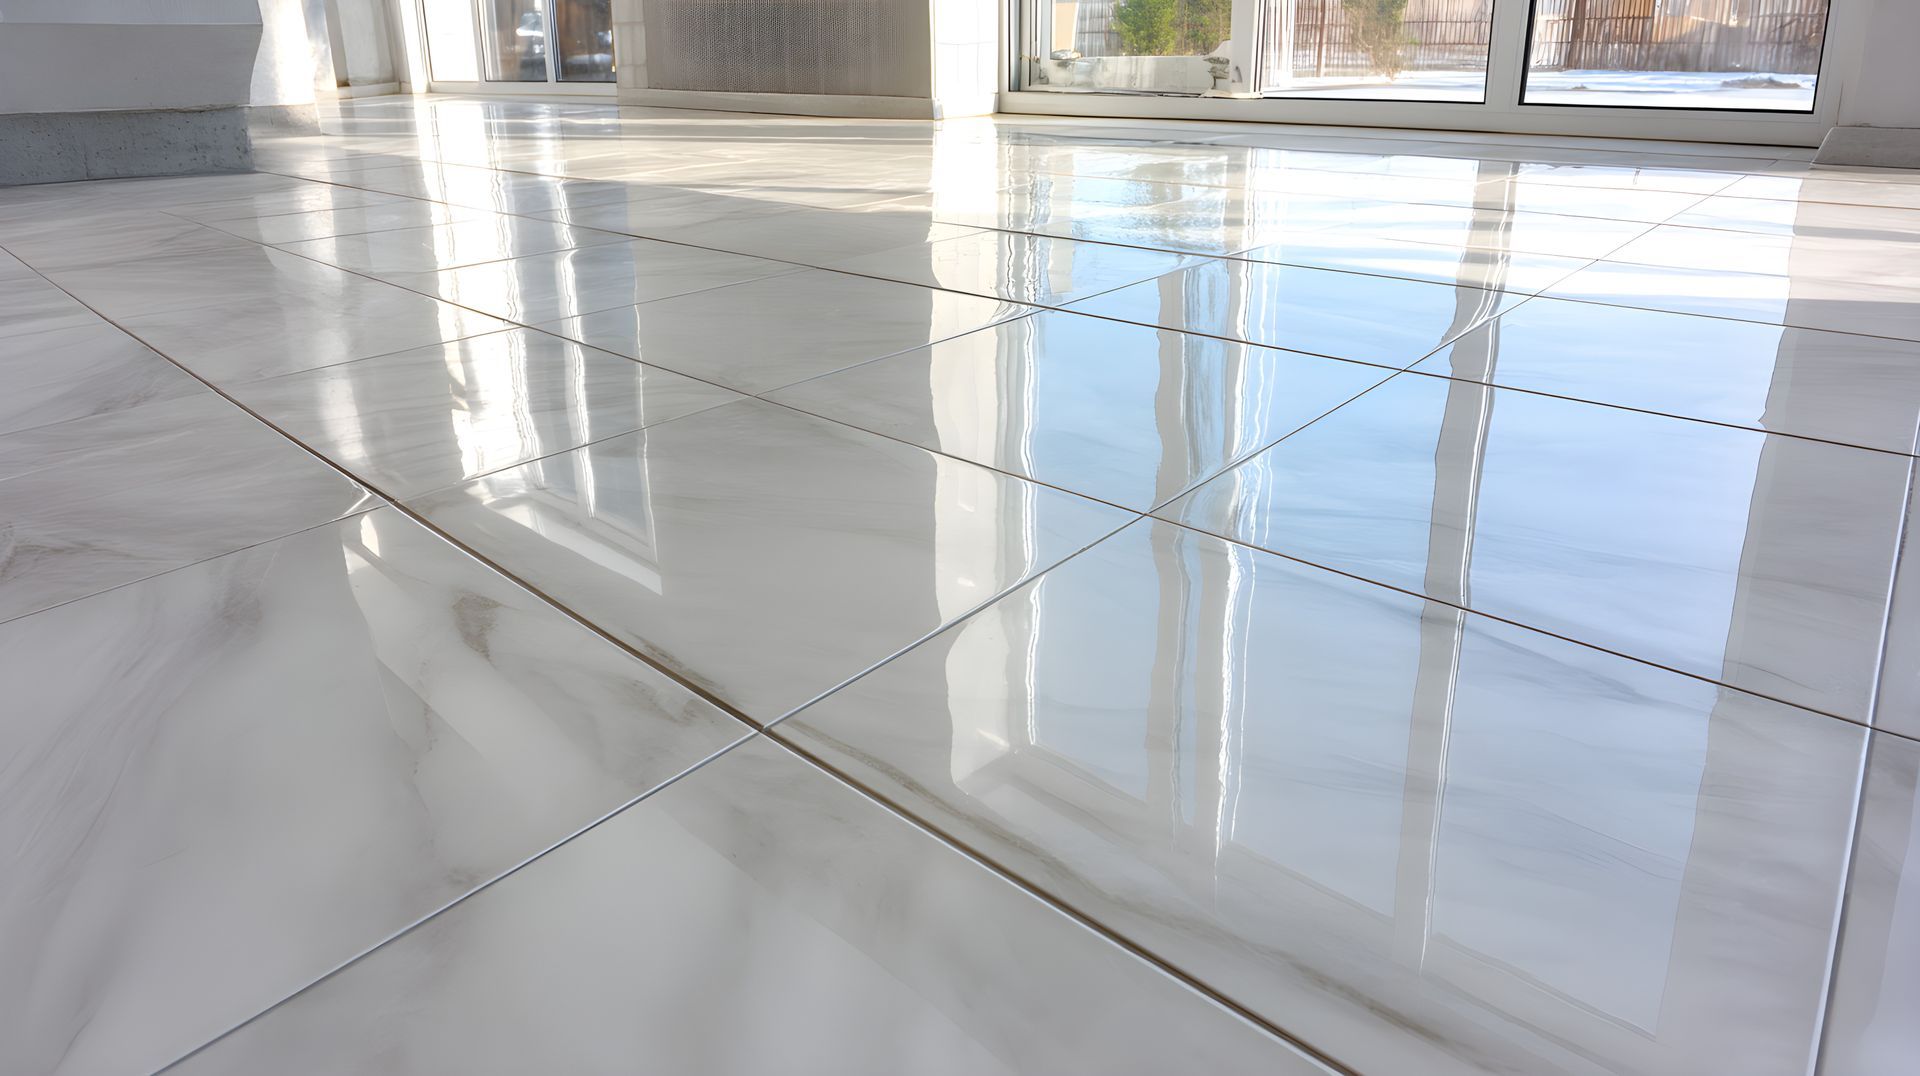
White granite is the most common type of granite. It is often used in kitchens and bathrooms because it is bright and clean-looking. White granite represents purity, innocence and fresh beginnings.


BLACK


Black granite is a classic color that works well with any design style. It is elegant and timeless. Black granite represents strength, power and sophistication.  “Black granite” is popular for countertops, but it’s not actually granite at all. It’s most commonly gabbro, which is an igneous rock that is similar to basalt. It is not quartz-based, but rather made of pyroxene and plagioclase, along with small amounts of olivine, which is dark green, and amphibole.


GRAY


Gray granite is a versatile color that can be used in both traditional and contemporary settings. Gray granite represents stability and balance.  They are bold and dramatic, and can be used to suit almost any style. Like any other stone, dark granite counters have their pros and cons.

The most obvious benefit of dark granite is their dramatic look. They create a great contrast and ambiance in a kitchen or bathroom, providing a great backdrop for everything else in the space.


BROWN


Brown granite is a rich, warm color that adds a touch of luxury to any space. Brown granite represents nature, earthliness and relaxation. 


RED


Red granite is a bold color that makes a statement. Red granite represents passion, energy and vibrancy.  They’re rather rare, often coming from specific quarries where conditions were right for these minerals to form. Natural pure white granite is also very rare.


STRIPES AND PATTERNS


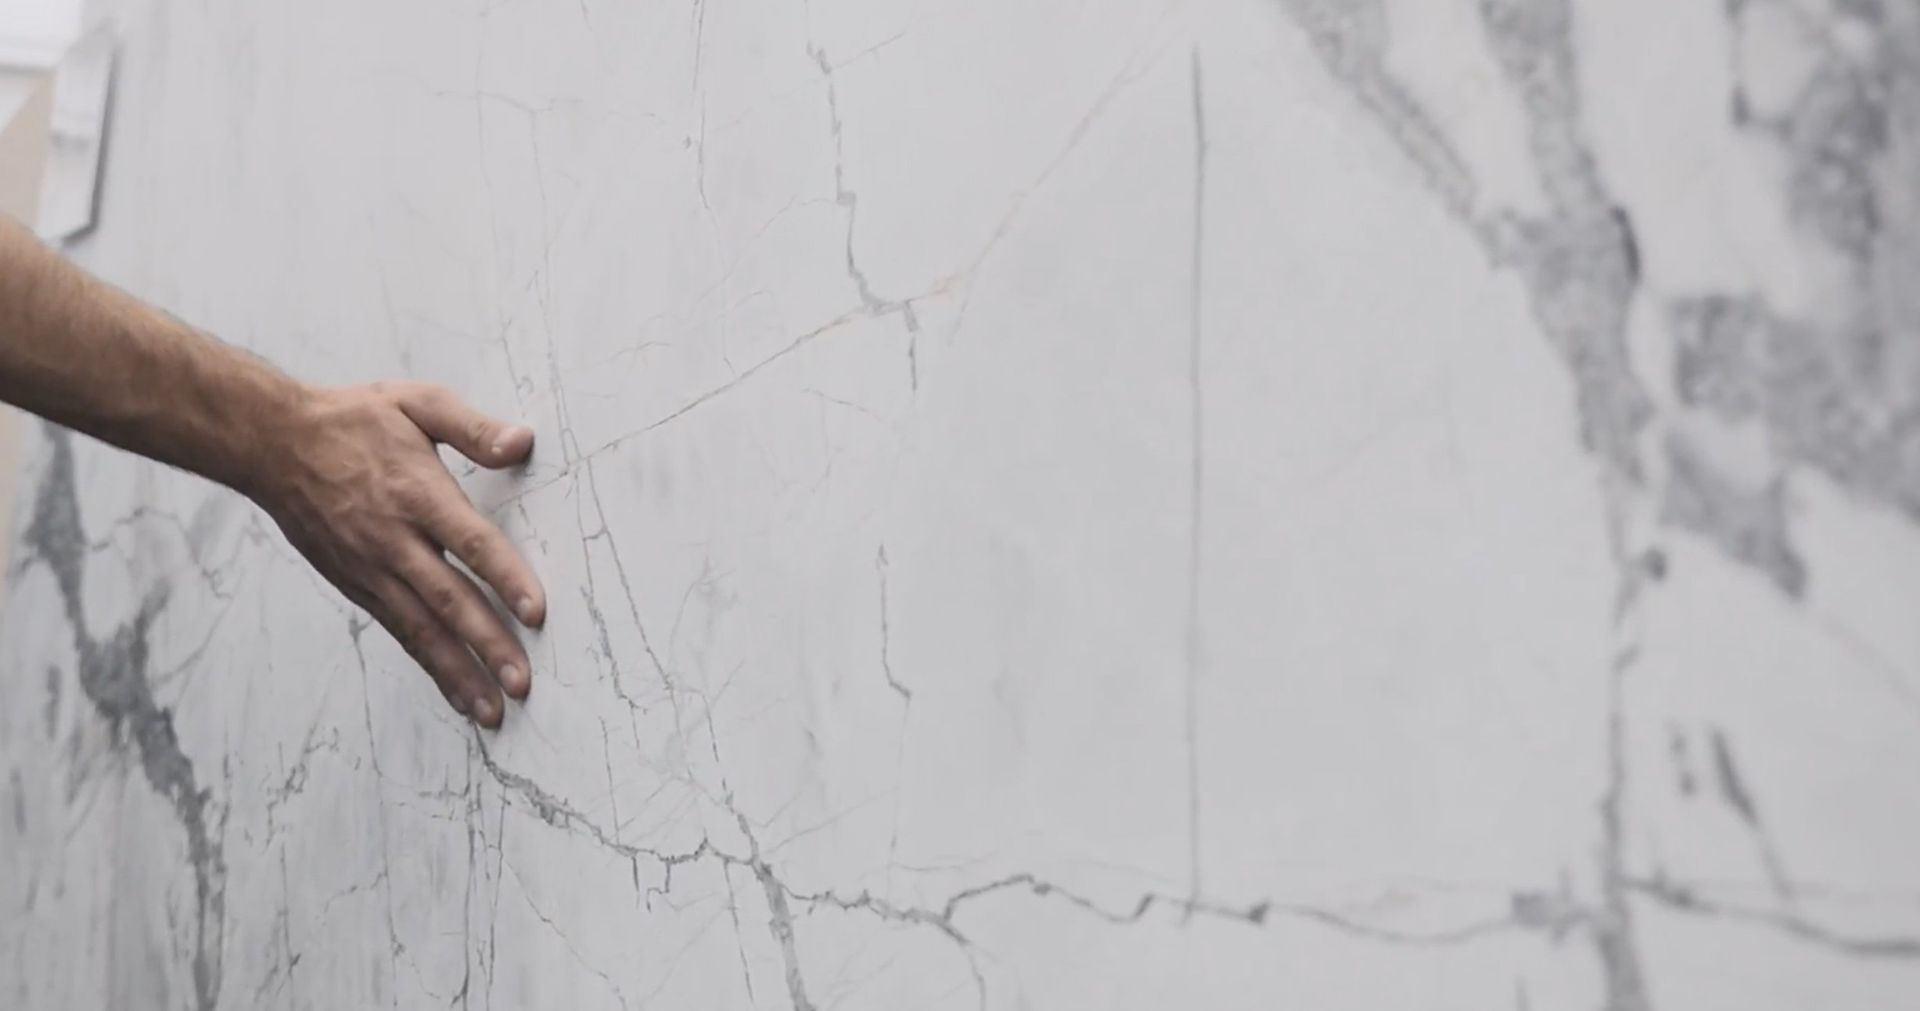
The different stripes and patterns in granite are caused by the way the granite is formed. Granite is made up of many different minerals, which give it its unique color and pattern. The most common minerals found in granite are quartz, feldspar and mica.


QUARTZ


Quartz is the most abundant mineral in granite and gives granite its sparkling appearance. Feldspar is a type of rock-forming mineral that gives granite its characteristic flecks and sparkles. Mica is a shiny, reflective mineral that adds depth and dimension to granite.


Granite comes in many different colors and patterns. Each color has its own meaning and symbolizes different things. White granite represents purity, innocence and fresh beginnings. Black granite represents strength, power and sophistication. Gray granite represents stability and balance. Brown granite represents nature, earthliness and relaxation.


No matter which color you choose, granite countertops are a great complement to any kitchen or bathroom design.


Keep your granite looking beautiful with a professional cleaning.  At Marble Stone Polish, we can keep your natural stone maintained with regular, professional cleanings.  Contact us today!


January 20, 2025
Natural stone surfaces, such as marble, granite, limestone, or travertine, bring elegance and sophistication to any space. However, due to wear, scratches, and exposure to moisture and dirt, these surfaces can lose their shine over time. Polishing natural stone is essential for restoring its glossy finish and enhancing its durability. Why Polishing Natural Stone is Important Polishing is not just about aesthetics—it also serves several practical benefits: Restores Shine – Natural stone can lose its luster over time due to foot traffic, spills, and regular use. Polishing rejuvenates the surface. Protects Against Stains – A polished surface makes it more resistant to stains and moisture absorption. Smooths Imperfections – Proper polishing techniques can diminish or remove Minor scratches and etching. Extends Longevity – Regular polishing helps maintain the integrity of the stone, ensuring it lasts for decades. Step-by-Step Guide to Polishing Natural Stone Like a Pro 1. Identify Your Stone Type Different types of natural stone require different polishing techniques: Marble & Limestone – Soft, porous stones require gentle polishing to avoid scratches. Granite & Quartzite – Hard, dense stones that require diamond polishing pads for effective results. Travertine – Porous and textured, requiring extra sealing after polishing. Slate – Naturally rough, often enhanced with a stone enhancer rather than polished.  Understanding your stone type ensures you use the right products and techniques. 2. Clean the Surface Thoroughly Before polishing, the stone surface must be free of dirt, debris, and stains. How to Clean Natural Stone Before Polishing: Remove loose dirt – Sweep or dust the surface. Use a pH-neutral cleaner – Mix warm water with a mild stone cleaner or a few drops of dish soap. Wipe with a soft cloth or mop – Avoid harsh brushes or scrubbing pads. Dry the surface completely – Let it air dry or use a microfiber cloth to remove excess moisture. Pro Tip: Avoid acidic or abrasive cleaners, which can etch the surface and make polishing more difficult. 3. Select the Right Polishing Method Two main methods for polishing natural stone are DIY hand polishing and machine polishing . DIY Hand Polishing (For Small Areas) Hand polishing is a practical option if you have a small surface, such as a countertop or tabletop. What You Need: A stone polishing powder or compound (specific to your stone type) A soft cloth or buffing pad Water How to Hand Polish: Apply polishing powder – Sprinkle a small amount on the surface. Dampen a soft cloth – Use water to create a paste-like consistency. Buff in circular motions – Gently rub the surface until the shine starts to appear. Wipe clean – Use a damp cloth to remove any excess residue. Pro Tip: Use a high-quality stone polish spray after buffing for extra shine. Machine Polishing (For Floors and Large Areas) A machine polisher is the best option for larger surfaces, such as stone floors or walls. What You Need: A variable-speed stone polisher (also known as a buffer) Diamond polishing pads (grit levels ranging from coarse to fine) Water spray bottle A sealant (optional, but recommended) How to Machine Polish: Attach a low-grit diamond polishing pad (e.g., 50-100 grit) to the polisher. Lightly wet the surface – Use a spray bottle to prevent overheating. Begin polishing in sections – Move the machine in circular motions over the stone. Gradually switch to finer grits – Increase the grit level (200, 400, 800, 1500, and 3000) for a smoother finish. Wipe down the surface – Remove dust and excess polish residue with a clean cloth. Pro Tip: Always keep the surface slightly damp while polishing to avoid friction burns on the stone. 4. Seal the Stone After Polishing After polishing, sealing your natural stone is highly recommended, especially for porous stones like marble, limestone, and travertine. How to Apply a Sealer: Choose a high-quality stone sealer – Look for a penetrating sealer suitable for your stone type. Apply with a soft cloth or sponge – Work in even layers. Allow time to absorb – Let the sealer sit for 10-15 minutes. Buff away excess – Use a clean, dry cloth to remove any leftover sealer. Pro Tip: Sealing protects against stains, water damage, and daily wear. Depending on usage, it should be reapplied every 6-12 months. 5. Maintain the Shine with Regular Care Once your natural stone is polished, follow these maintenance tips to keep it looking flawless: ✔ Use pH-neutral stone cleaners – Avoid acidic substances like vinegar, lemon juice, or harsh chemicals. ✔ Wipe up spills immediately – Prevent stains from setting. ✔ Use coasters, mats, and rugs – Protect surfaces from scratches and heat. ✔ Re-polish as needed – Consider light re-polishing for high-traffic areas every 6-12 months. Common Mistakes to Avoid 🚫 Using acidic cleaners – These can etch and dull the surface. 🚫 Skipping sealing – Unsealed stone is more prone to stains and damage. 🚫 Using rough pads or steel wool – These can scratch and ruin the finish. 🚫 Applying too much polish – Overuse of polish can create residue buildup. Final Thoughts Polishing natural stone is an essential step in maintaining its beauty and durability. Whether refreshing a marble countertop, restoring a granite floor, or enhancing the look of travertine tiles, the right techniques and tools will ensure a flawless finish. With proper cleaning, polishing, and sealing, your natural stone surfaces will continue to shine for years. If your stone requires extensive restoration or you are unsure about the process, consider hiring Marble Stone Polish for expert results. A well-maintained natural stone surface is a valuable investment and a timeless feature in any home.
November 15, 2024
Daily Cleaning Routine: For most natural stones, wiping down surfaces daily with a soft cloth and a pH-neutral cleaner or water with a few drops of mild soap is sufficient. Avoid excessive water on surfaces, as standing water can penetrate stone pores and lead to discoloration. Weekly or Deep Cleaning Routine: Use a stone-specific cleaner that matches your stone type for weekly or deeper cleaning. Avoid all-purpose household cleaners, which may contain acids or abrasives that can damage the stone. Handling Spills and Stains: Immediate Action: Blot any spills immediately with a soft cloth. Do not rub, as this can spread the stain. For Stubborn Stains: If you encounter a tough stain, like oil or wine, create a poultice with baking soda and water. Apply it to the stain, cover it with plastic wrap, and leave it overnight. Rinse and wipe clean the next day. Avoiding Common Mistakes: Never use acidic cleaners, such as vinegar, lemon, or bleach. Avoid using abrasive scrubbers or brushes that could scratch the stone. Do not use wax or polish unless specifically recommended for your stone type, as this can create buildup and damage.
Share by: